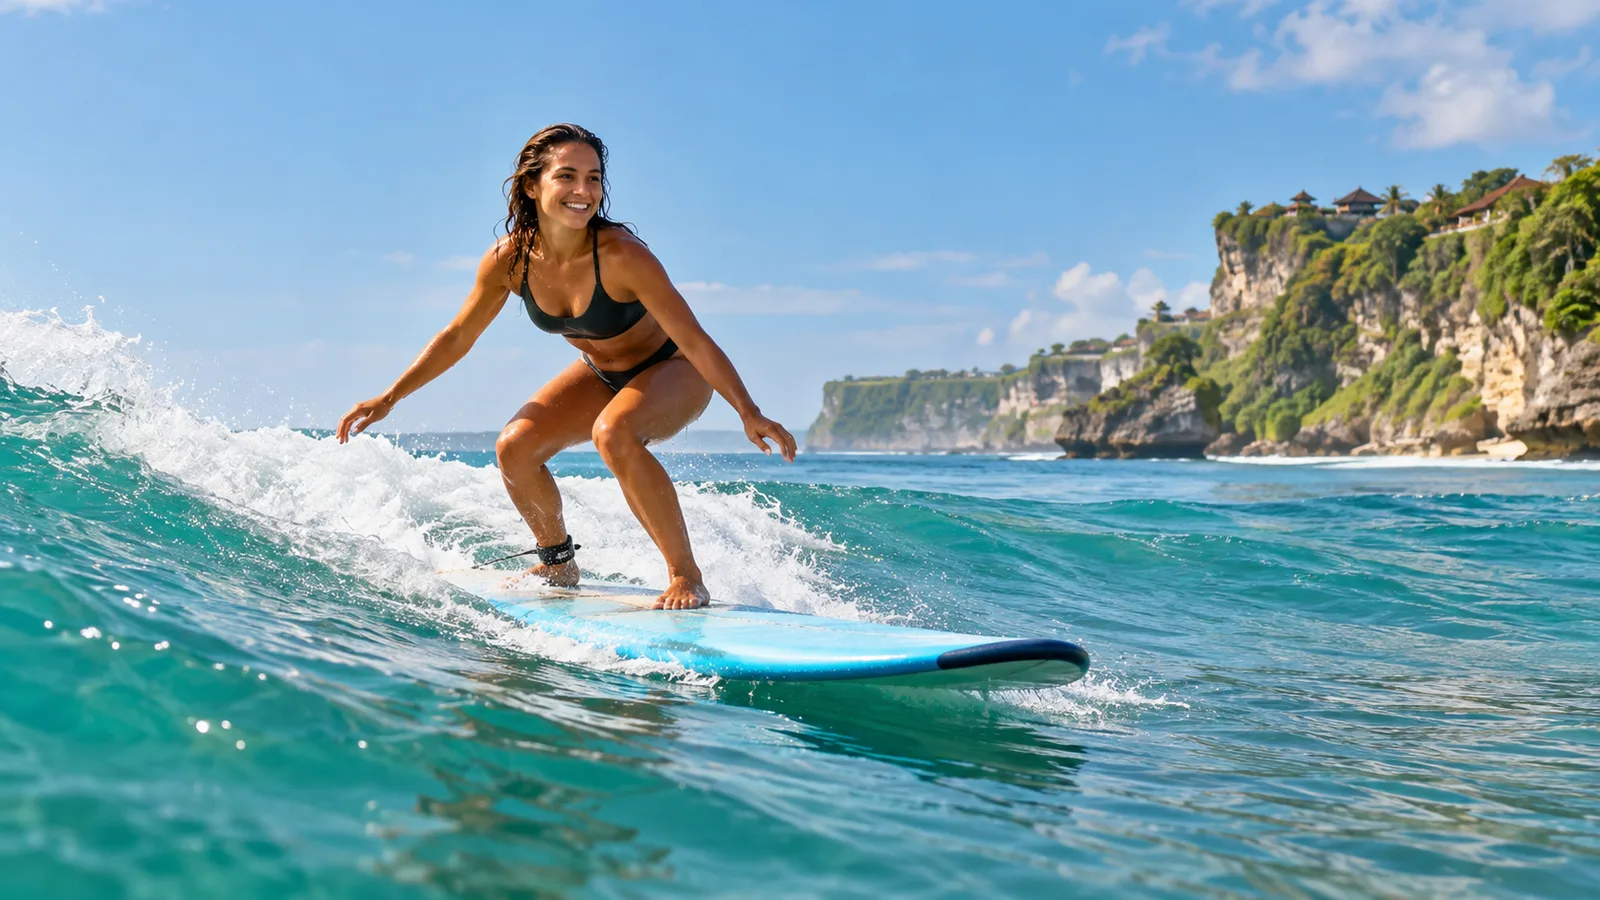
Useful footage answers a question. When do you start standing? Where does your front foot land? Pick one movement before the session and ask the person filming to keep the whole board in view. A few clips in which you are easy to identify can tell you more than a long video of the whole beach.
Pick a viewpoint and a visual cue
Use a safe public spot that leaves the approach clear. Follow local filming rules and ask before taking close-up footage of other people. Agree on a cue your friend can see from a distance. A board or rashguard colour is easier to pick out than a face.
Start the clip before the movement
Ask for a few seconds of lead-in. If you are reviewing a pop-up, include paddling, hand placement and the landing of both feet. Keep the frame wide enough to show the board and the water around it. Film several attempts from one position so a change of camera angle does not dominate the comparison.
Compare two attempts at the same point
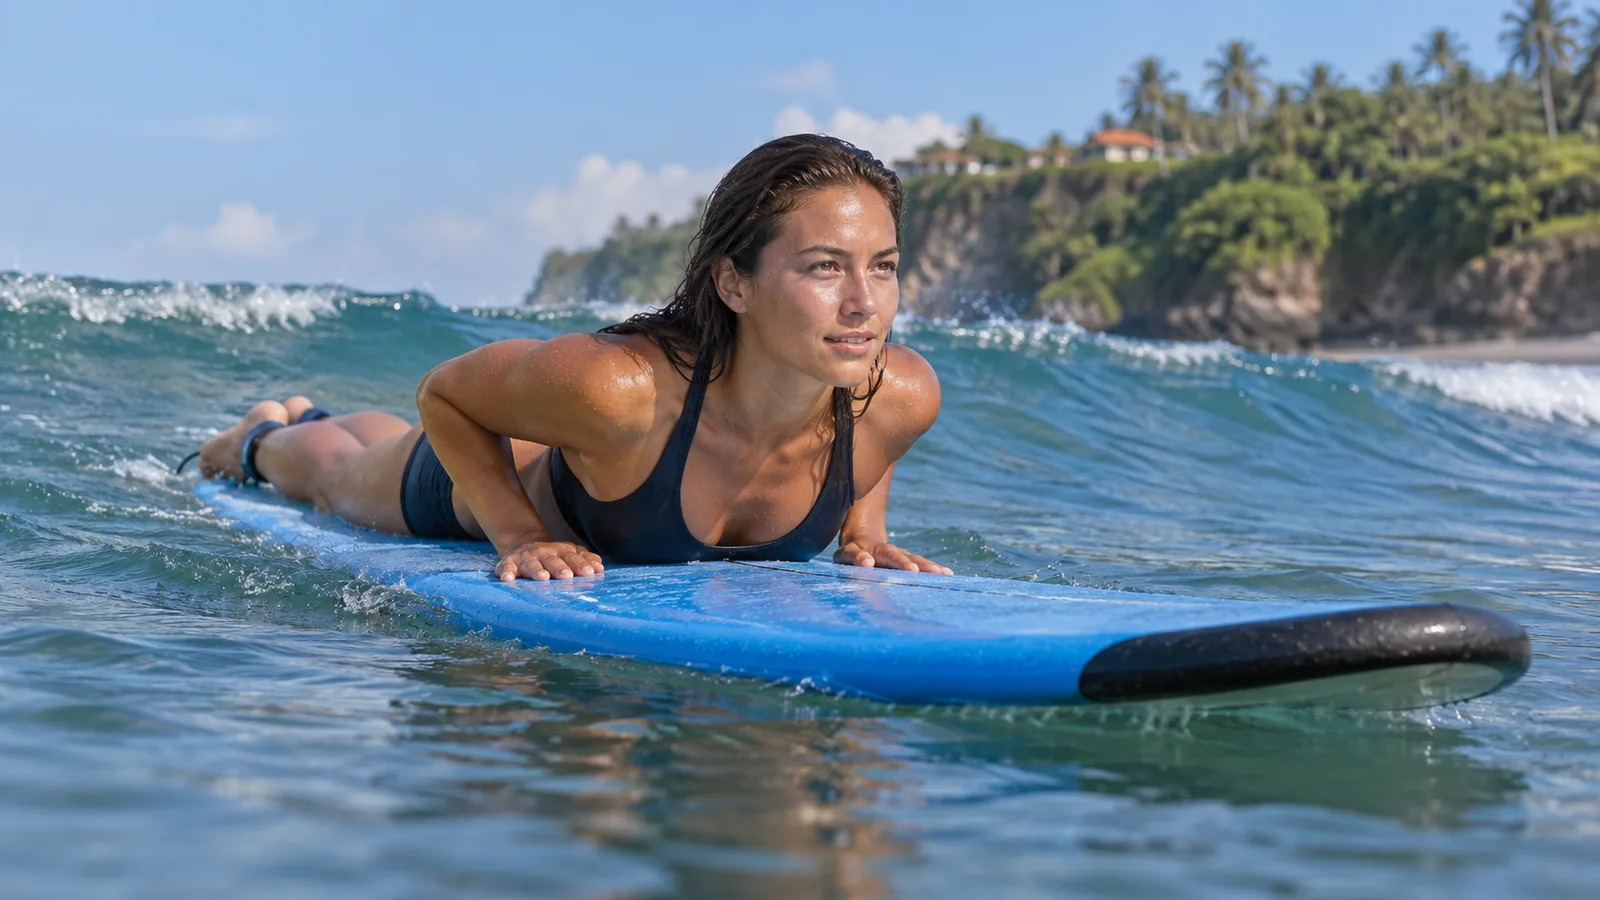
Watch both at normal speed. Then pause each at the same point, such as the moment your hands press into the deck. Compare one detail. If your front foot landed wide on one attempt and nearer the middle on the other, ask an instructor whether that accounts for what you see next. A single freeze-frame rarely tells the whole story.
Take one cue into the next session
Write it in words you can remember in the water. Next time, film the same moment from a similar angle. If you are unsure where a movement begins, use the surf pop-up guide as a reference and ask an instructor to review the clip with you.
What to send your instructor
Trim two clips and leave a few seconds on either side of the movement. Label them with the date and the question you want to answer. For example, is your front foot landing too far out, or does the camera angle make it look that way? If the person filming moved, mention it. Your instructor can decide whether the two views are comparable.
How to see whether a cue helped
On the next session, film a few attempts and look at the same movement. Compare body and board position at a similar moment and ask your instructor how the conditions differ. One successful attempt may be chance. A change you can see repeatedly gives you a reason to discuss what to work on next.
🎥 Frame the shot around your question
| What you want to understand | What the frame should show |
|---|---|
| How you begin standing | A few seconds of paddling and hand placement |
| Where your feet land | The whole board, both feet and the weight transfer |
| What happens after you stand | The start of the movement, the board and a few seconds afterwards |
📍 Keep the camera angle consistent
Choose two landmarks the person filming can use to follow the action. Take a short test clip and check that the whole board stays visible. If you are far away, back off the zoom and use a wider view. A consistent angle helps more than a tight frame when you compare two attempts.
Leave enough footage on both sides
If the beginning is missing, separate what the clip shows from what you remember. Foot placement may be clear even when the moment you started standing is out of frame. In that case, the next clip has a simple purpose: record the lead-in to the same movement.
Make one note you can use
“Clip 1: front foot landed off centre. Clip 2: the board is seen from another angle. Try two more from the same viewpoint.” This gives the instructor a concrete question without turning a guess into a conclusion.
🗂 Keep a small set of clips you can compare
Name the files by date, attempt number and camera angle. Record the question you had before filming so you do not change it to match the most impressive clip. For foot placement, use attempts in which both feet and the whole board are visible. If the angle hides a foot, mark that clip as unsuitable for this comparison. Save one good attempt as a reference and keep two similar clips to discuss with your instructor. The next time you film, you will have a clear task instead of a folder full of videos that all look the same.
Do a test clip on land
Ask the person filming to follow you between two landmarks. Play it back and check whether the board stays in view all the way through. Do not start with the maximum zoom. First see whether they can hold the wider frame. Check storage space on the phone and whether it can be kept away from spray at that spot. If the angle is awkward, move only to somewhere safe and permitted. A short test before the lesson is more useful than a long recording you later discover has missed most of the movement.
Separate the movement question from the camera question
When a board looks tilted, the camera position may affect what you see. From the side, it can be easier to see the order of movements. From nearly head-on, one foot can hide the other. Before comparing clips, check the angle, scale and the moment at which each is paused. If one was filmed from a different position, treat it as a separate observation. Show both to your instructor and ask which clip can answer the particular question you came with.
Choose two clips you can actually review
Start with two attempts that show the beginning and end of the movement. The best-looking ride is not necessarily the one to use. Pick two that were filmed from a similar distance and show the detail you want to compare. A clip that ends before the pop-up can help you look at paddling, but tells you little about foot placement. Label why you selected each attempt. The instructor can go straight to the question, and you can find both clips again without watching the full session.
Compare what you saw with what you felt
Write down what you remember feeling before looking at the footage. You may ha
ve thought both feet landed together, while the clip appears to show one foot arriving first. Note separately what you cannot tell. If water hides the movement or the board goes out of frame, leave that part unresolved. Ask the instructor to draw one conclusion from the section you can see. Sometimes the useful next step is to start the next clip earlier rather than changing a movement based on incomplete footage.
Film a follow-up clip with the same aim
Before the next lesson, read your one cue and remind the person filming what needs to stay in view. Afterwards, compare a fresh attempt with the first one. If the view or conditions changed considerably, be careful with the comparison. If the movement looks different in several attempts, show the clips to your instructor and ask what to work on next. Keep the short recordings that answer the question or show progress. If other people are clearly visible, check whether the clip can be shared and trim what is unnecessary before sending.
Brief a friend who has not filmed surfing before
Explain the moment you need and ask for a few attempts instead of the entire lesson. Give them a board or clothing colour to look for. Show where the movement will begin and how long to keep filming afterwards. Agree where to meet when they finish. If your friend wants to leave early, two usable clips are enough. The brief can be simple: stay at one point, keep the whole board in view and start a little early. Review one clip together before the next attempt. You can then adjust the brief if the feet or lead-in are missing.
If you end up with footage from far away
Check what you can distinguish before cropping. A wide view may show the order of movements well enough to discuss timing. It may be too far away to answer a question about feet or hands. Do not move into an unsafe or restricted position just to get a closer view. Try filming the movement on land or ask about another permitted point. Label what the current recording actually shows. That helps your instructor go straight to what is visible without searching for details the clip cannot provide.
A two-clip review you can repeat
Find the point where the movement clearly starts in the first clip. Note the timestamp and one observation. Do the same in the second. Check the angle and whether you can see the board relative to the water. If the clips are similar, compare the order of movements. If they are not, label them separately. One may show hand placement while the other shows where the board points after you stand. Avoid combining them into one assessment. Pick the clip that best answers your question and take it to the instructor with one specific observation.
A two-session plan with one camera
Film a baseline and ask your instructor for one detail to watch. At the next session, keep the same angle if it is available and safe. Otherwise note what changed and compare only what you can see in both views. If you are trying a new cue, avoid changing the filming method and the question at the same time unless you need to. After the second session, keep one pair of clips and a note about what felt more consistent. If the result is unclear, collect a better comparison before d
rawing a conclusion from one successful attempt.
Common questions
Should I film vertically or horizontally?
Choose the orientation that keeps the whole board and its surroundings in view. A wide frame is often easier to follow when reviewing movement.
Should I send the whole recording?
Send a couple of labelled clips that show the start and finish of the movement. Keep the longer recording in case the instructor wants context.